How to set up BorderlessVPN on macOS
- 1
Download BorderlessVPN
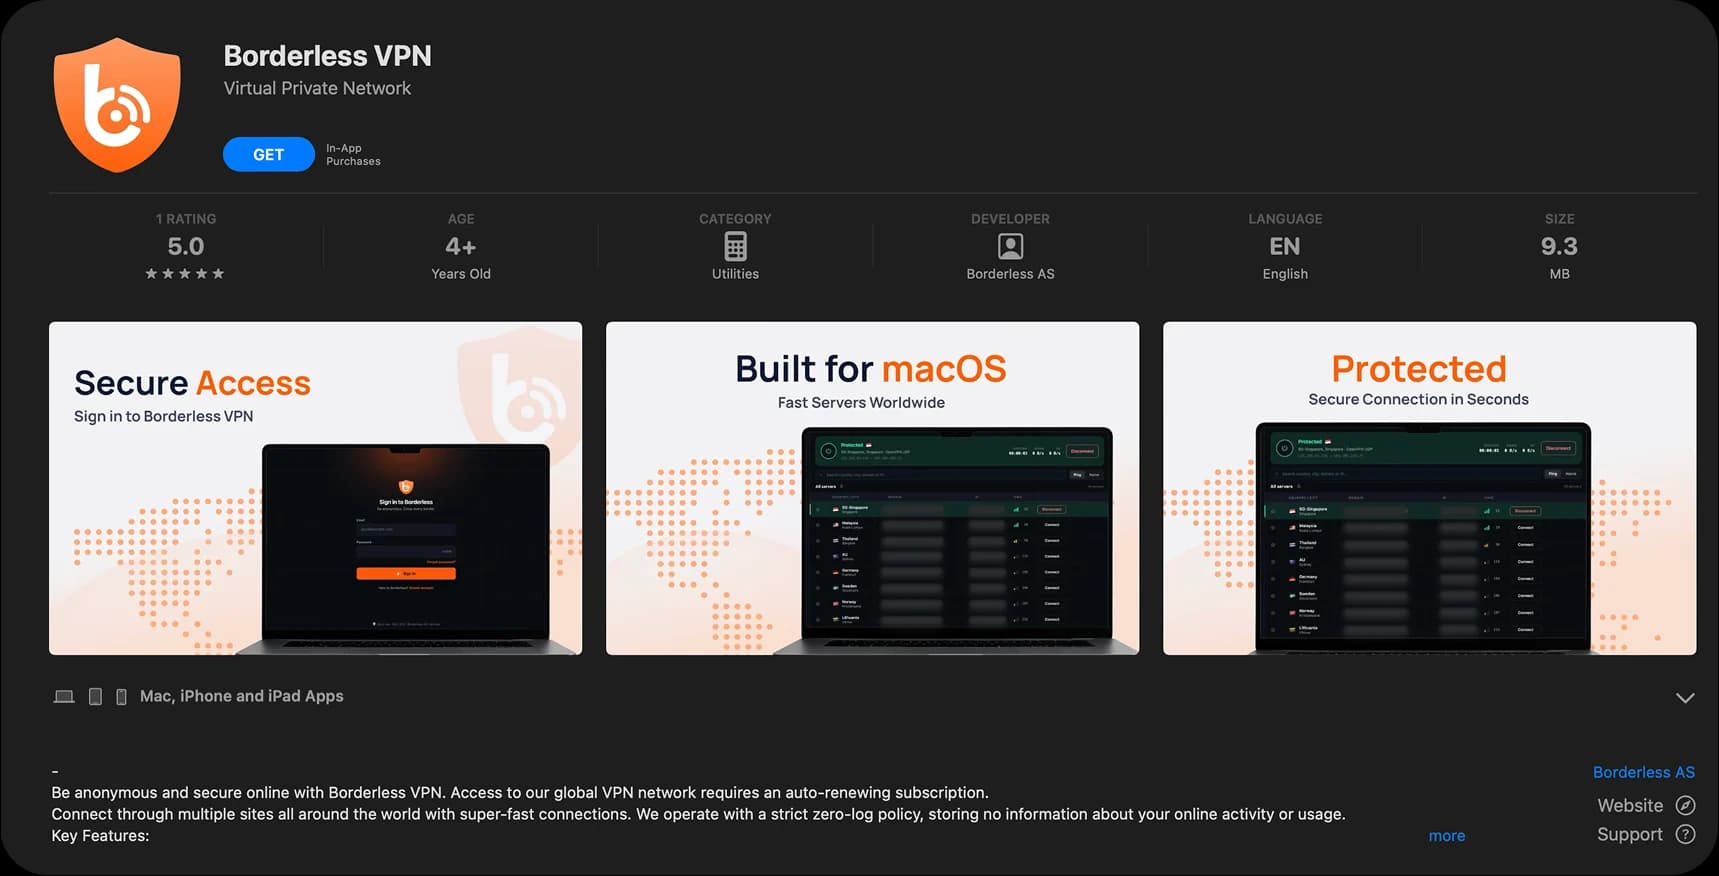
Open the App Store on your Mac and search for BorderlessVPN. Click Get to download the app.
- 2
Install the App
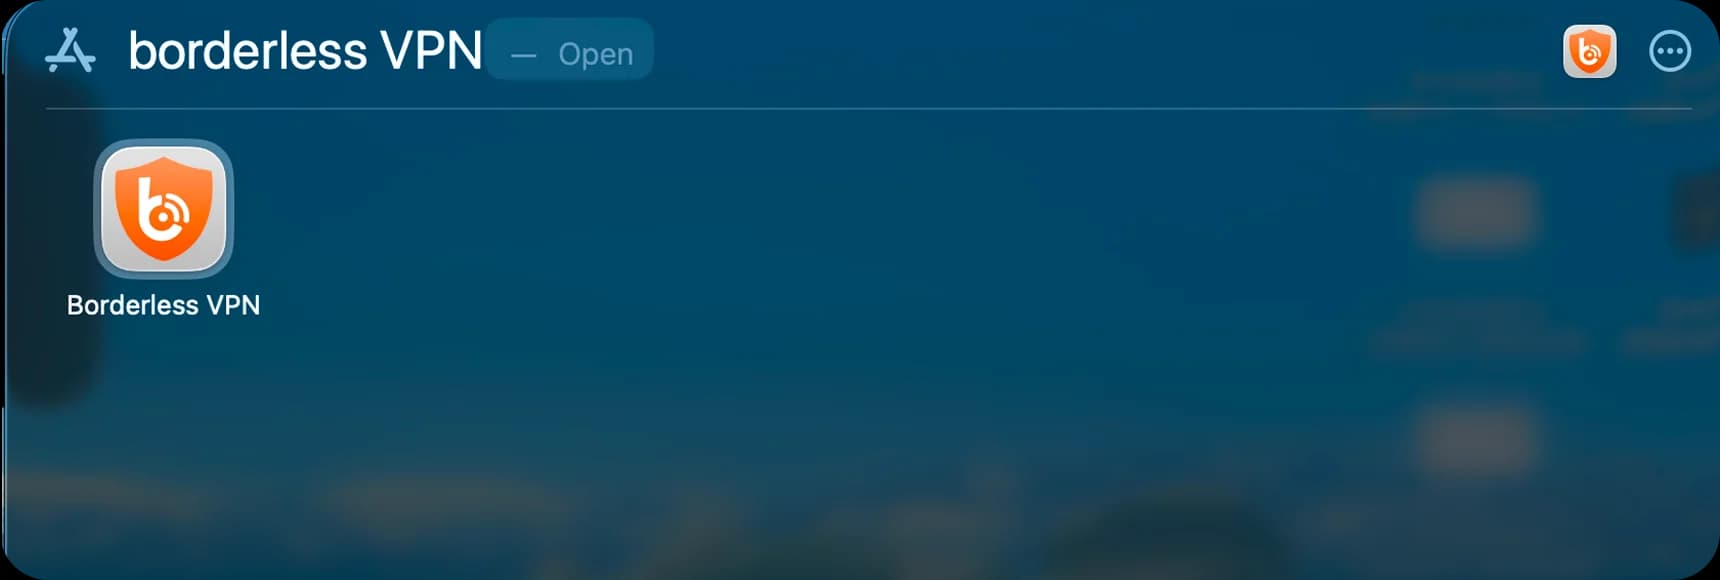
Once the download is complete, click Open to launch BorderlessVPN. You can also open the app from Applications or Launchpad.
- 3
Log In to Your Account
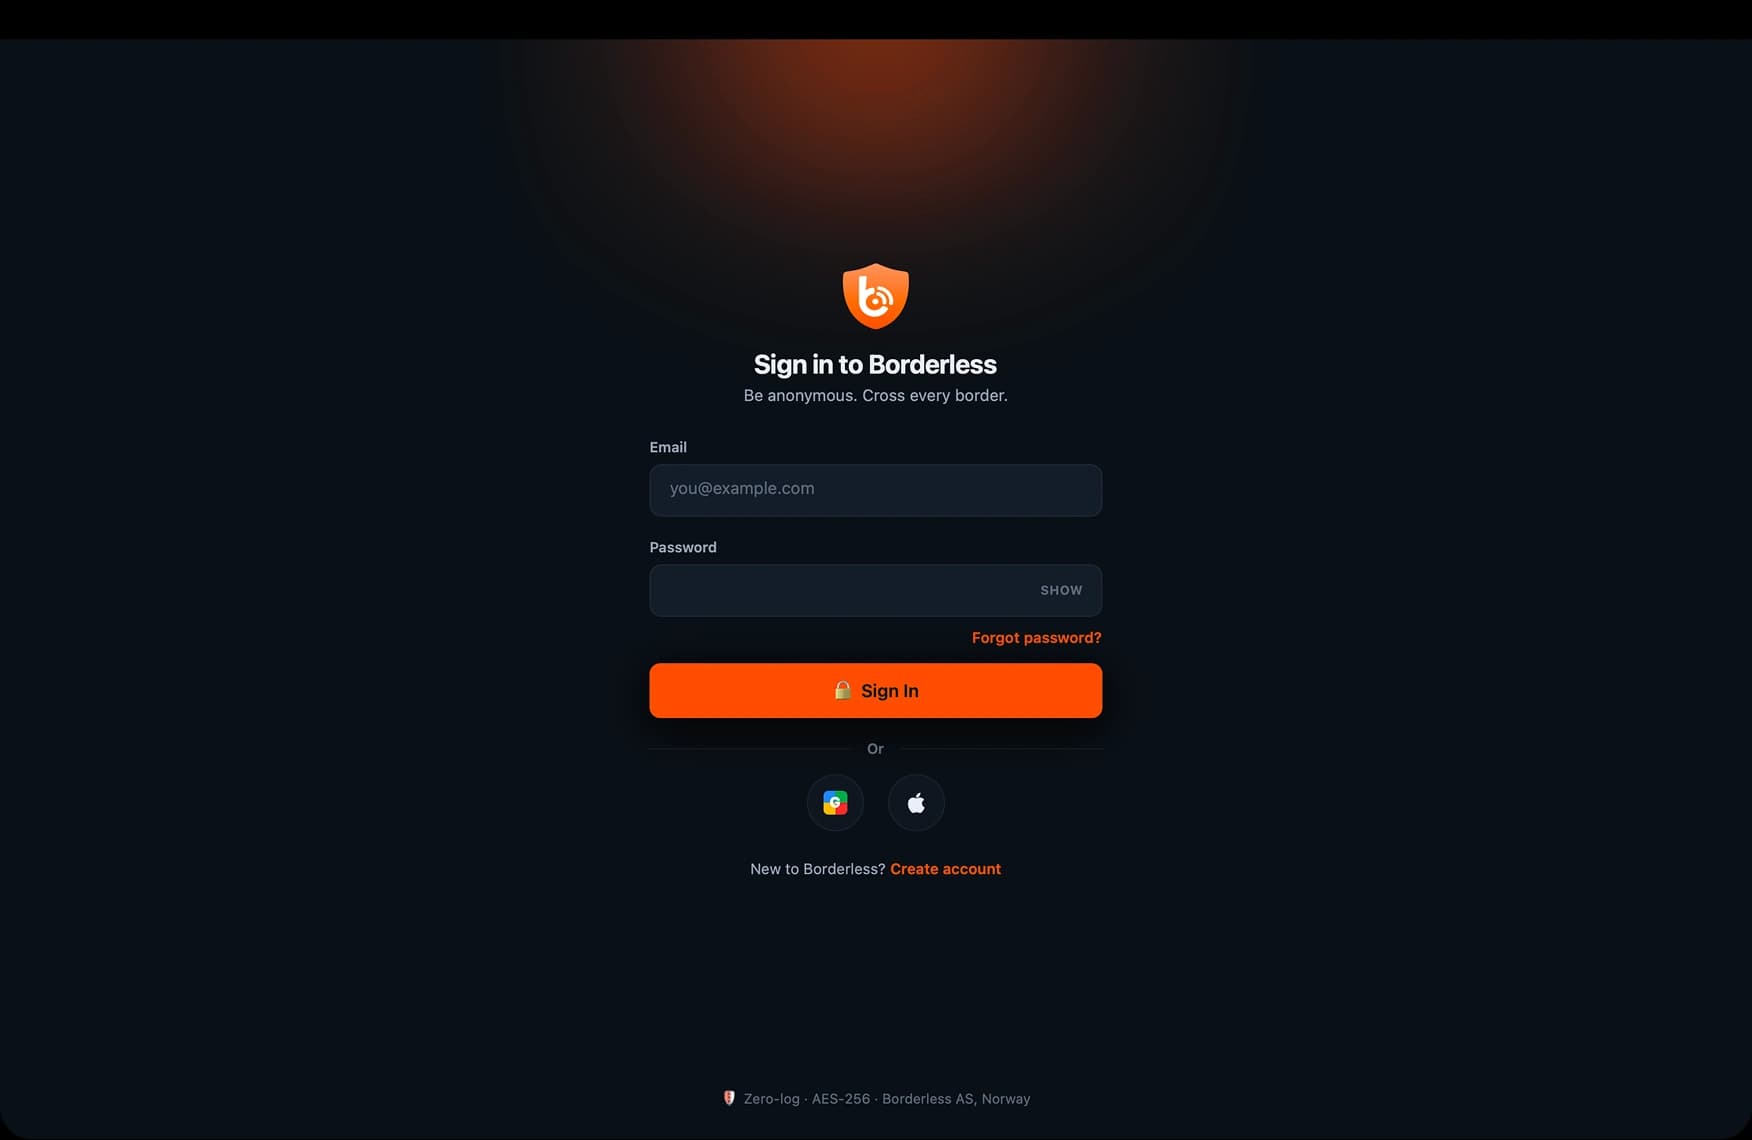
Open BorderlessVPN and choose your preferred sign-in method:
- Continue with Google
- Continue with Apple
- Log In with Username & Password
If you choose Google or Apple, follow the on-screen instructions to complete the sign-in process.
- 4
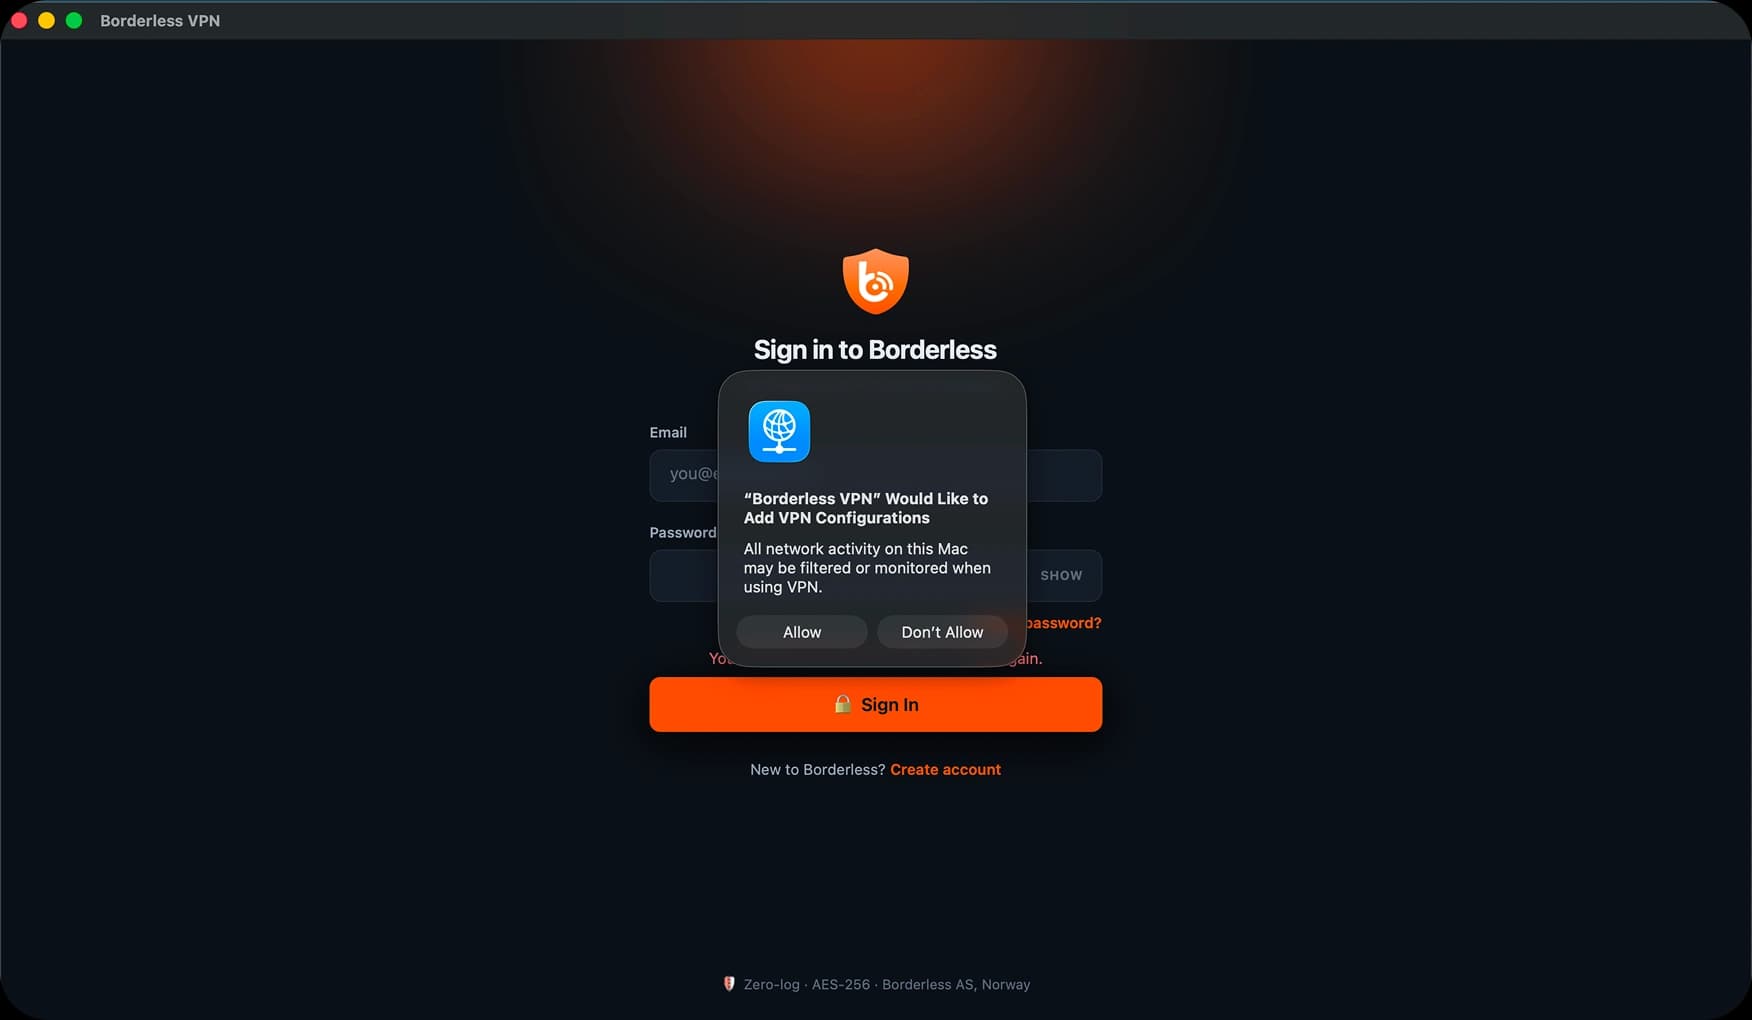
Allow VPN Configuration
After signing in, macOS may ask for permission to add a VPN configuration. Click Allow to let BorderlessVPN set up the required VPN connection on your Mac. You may be asked to enter your Mac password or use Touch ID to authorize the configuration.
- 5
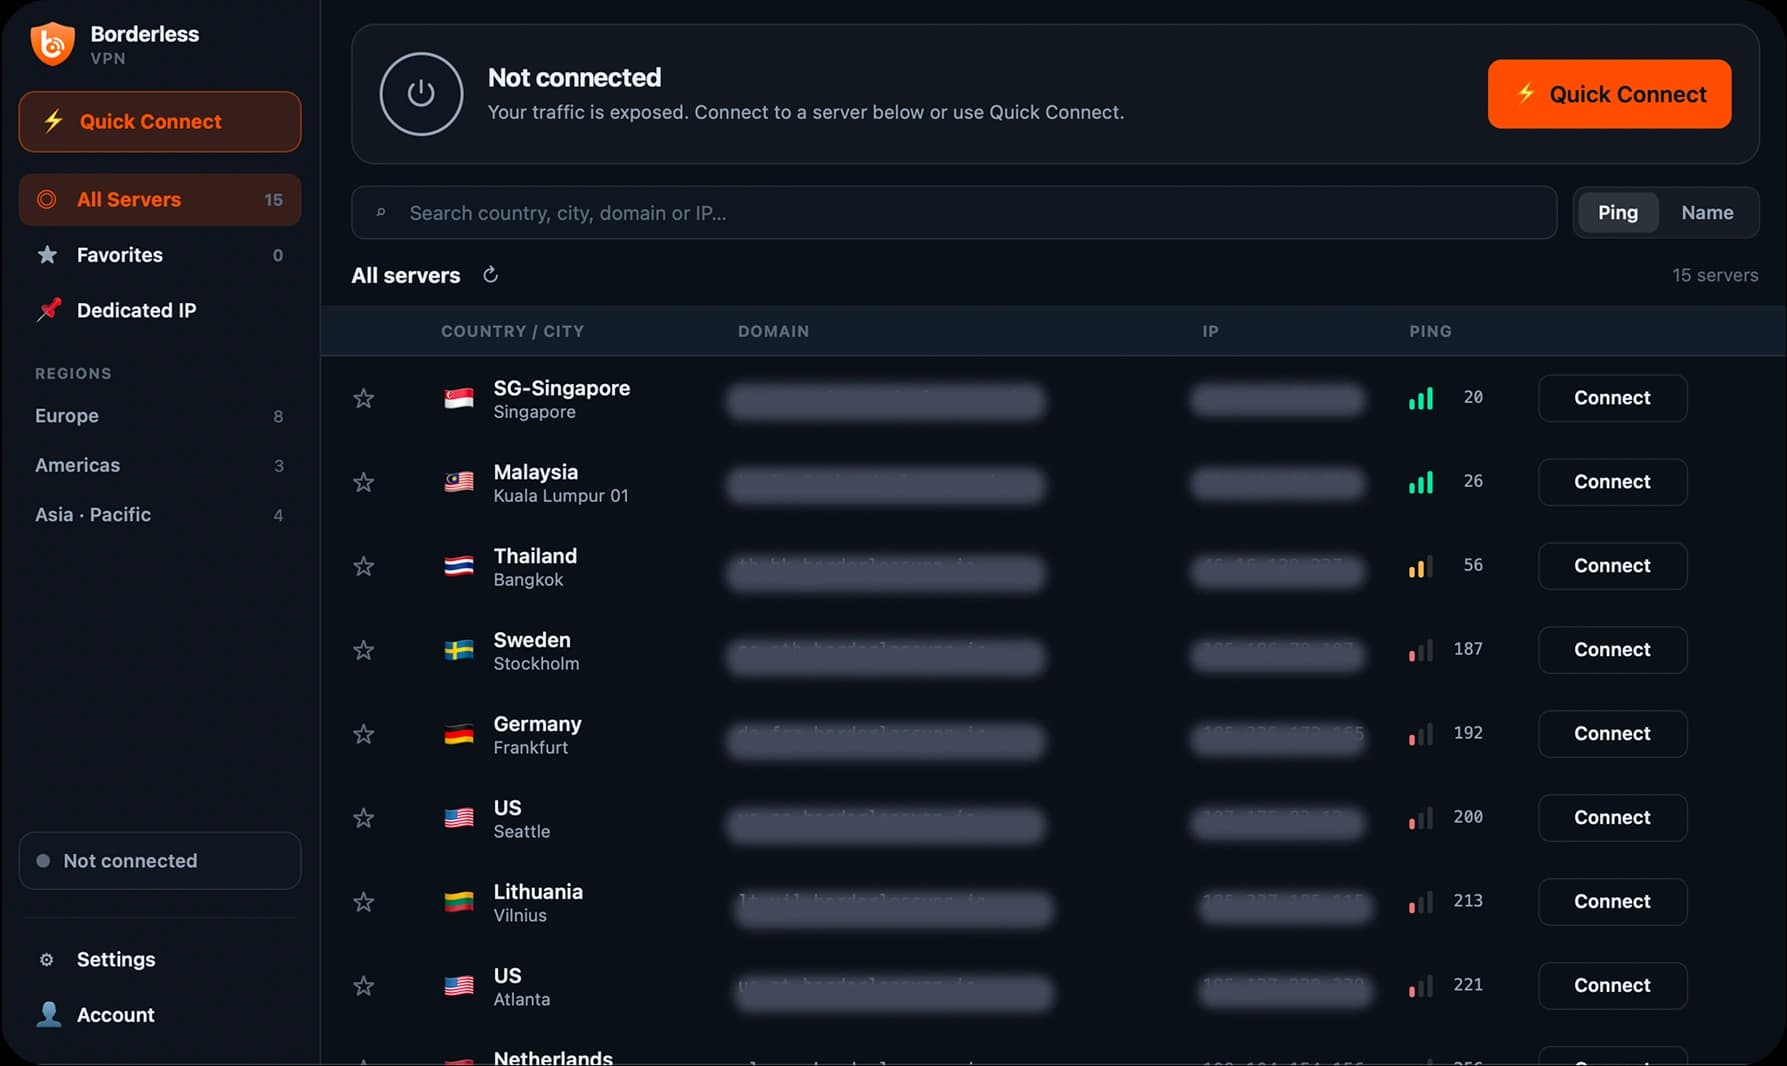
Connect to a Server
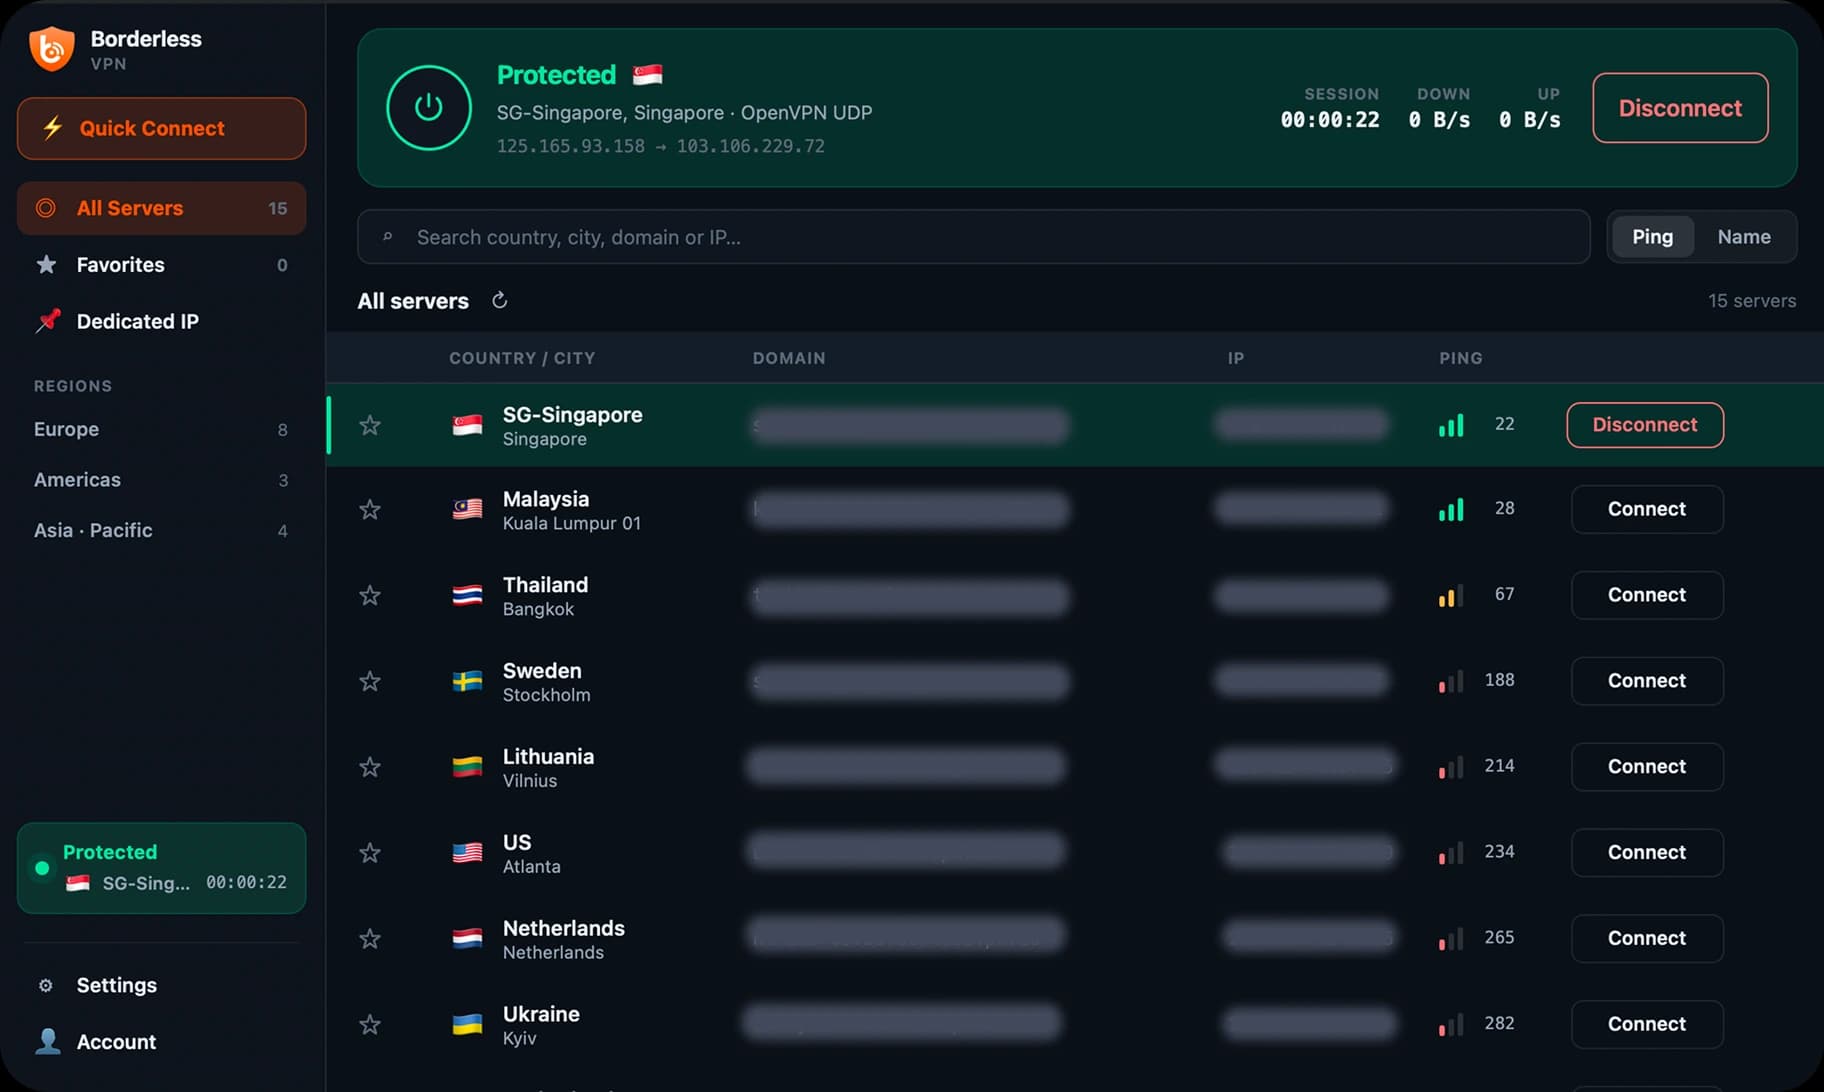
Once you’re logged in, select the server you want to connect to. Click Connect to establish your VPN connection.
- 6
You’re Connected
Once the connection is established, the status will change to Connected. You can now securely access the internet through your BorderlessVPN connection.